")


Looking to scratch that itch for all things vinyl? Maybe you’re new to this strange analogue format and wish to discover a little more. Maybe you want to understand why vinyl has made such a resurgence over the last few years.
There really is something about a record player that can get you into a groove; it creates a connection with the music that’s incomparable with anything else.
If you’ve never played a vinyl record before, we’re here to hold your hand and help you get the best from your turntable. For those wishing to reignite their passion, this guide will help you brush up on your knowledge, giving you some simple tips along with more in-depth advice. We’ll also brush up on some jargon that you’ve probably come across, like “platter”, “tonearm, or “stylus”.
So, stick with us as we discover how to play vinyl records.
In a Hurry?
Want to get set up immediately? Here’s our quick step-by-step guide:
- Lift the turntable dust cover and grab your record
- Choose a side and check the record speed (33 RPM or 45 RPM)
- Place your chosen side onto the platter
- Turn the turntable on and set the RPM speed
- Use the cue lever/lift-arm and move the tonearm to the outer edge of the record
- Slowly lower the cue lever/lift-arm to insert the needle into the groove
- Sit back and enjoy
Basic Parts of a Turntable
 It’s first worth noting that there are different kinds of turntables:
- All-in-one – a compact unit that harks back to the days of gramophones
- Automatic – you simply need to click “play”
- Manual – a turntable in its purest form
- Semi-automatic – combines the best features of fully automated and manual turntables
Every turntable has some fundamental parts that have been around since the invention of the record player. Some are now electric while others have been subject to today’s modern engineering which has improved their musicality.
Gone are those gramophone days where muggins had a horn for a speaker and needed to continually wind the handle to hear the latest Rudimental album (ha, thankfully this is not the case any more!).
So, what are the basic parts of a turntable? Do all turntables really have a platter? Isn’t that a food term? Yes, it really has a platter and no, it’s not used for food, although your turntable will satisfy your appetite for music.
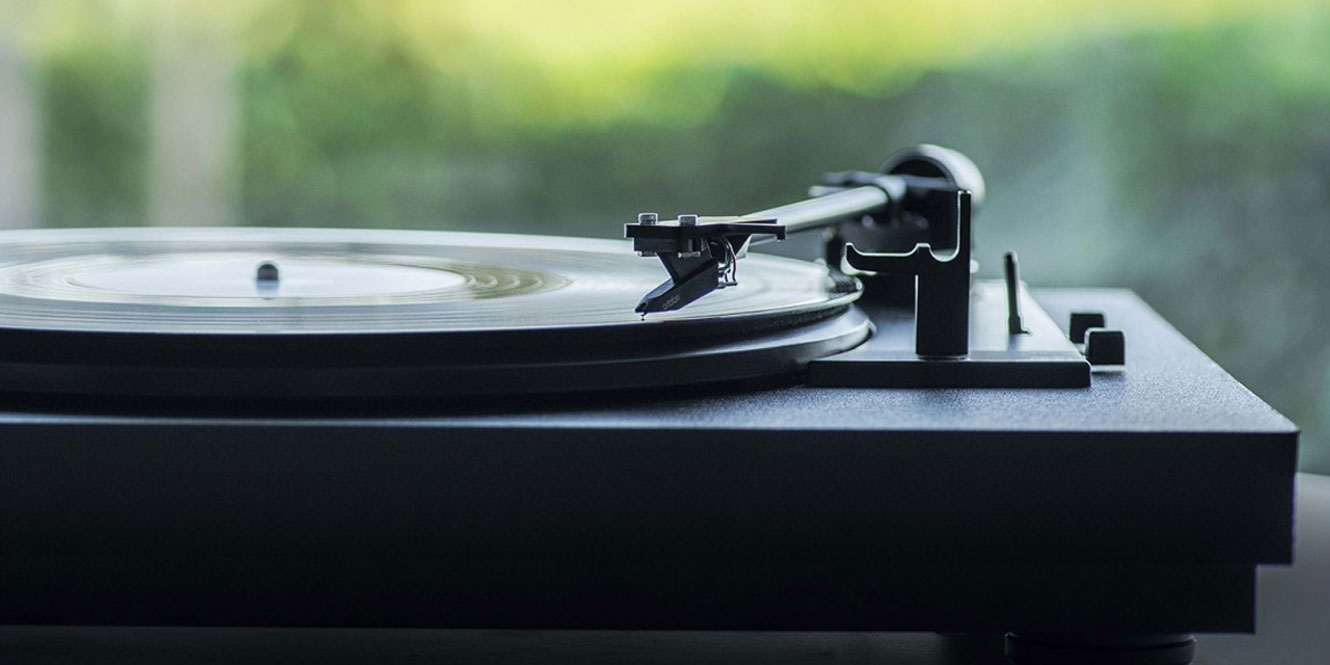
Base: This is the body of the turntable and what many classify as the record player or deck itself; It’s the hub where all the components come together.
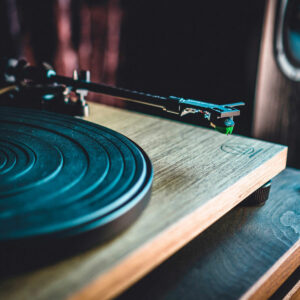
Platter: Think of this as a weighted wheel and, along with the motor, it helps keep your records spinning at a constant speed. Some are crafted out of wood, some are moulded out of Perspex, and others are made of metal.
Tonearm: There are two types of tonearms: one is an unpivoted signal-bearing type which floats on top of a signal point, while the other is a multi-bearing type fixed in more than one location. Both move freely, but the signal bearing creates less resonance due to fewer moving parts, and some are straight while others are tapered.
Carbon fibre (used by Pro-Ject) or lightweight alloy materials are usually used in their construction.
Cartridge: There are two types of cartridges: Moving Magnets and Moving Coil. Both systems act like suspension, allowing the stylus to follow the ridges within the groves of the record. This interaction creates micro-vibrations that become the sound waves you hear.
Weight and anti-skating: This is probably the most confusing part of the turntable when it comes to setting up the tonearm. The weight is what stops the tonearm from skipping while playing, and the anti-skating corrects the traversing effect of the weight added.
Phono stage: With the stylus being so sensitive, it works in millivolts. Your Stereo or AV receiver, on the other hand, works in volts. The phono stage amplifies the signal to match the amplifier’s voltage requirements. If everything is connected and you have to increase the volume to hear a whisper, you may find the phono stage is turned off, plugged into the wrong inputs, or you haven’t got one.
Headshell: The headshell connects the cartridge to the tonearm, and it’s either removable or fixed. Removeable headshells can be upgraded, plus they allow for easy access when changing cartridges.
Earth: Not all turntables have a visible earth, but they all use one whether it’s via the mains plug or your amplifier. It’s an important cable, usually connected to the turntable, as it helps remove static built up whilst playing your records. This helps alleviate any unwanted snap, crackle, and pop effects.
Belt/direct drive: These are how the motor interacts with the platter. In a belt drive system, a specially crafted rubber band is employed to rotate the platter, while also keeping the motor and the platter separate. On the other hand, a direct drive system utilises floating magnets to set the platter in motion.
Each system has its own set of advantages and disadvantages, and if you’re uncertain about which system will suit you best, drop by our showroom for a demo!
Good to know: weight and anti-skate
Whilst balancing your tonearm, remove the headshell and adjust the weight until the tonearm is level. Check the weight and set the anti-skate to match. Reattach the headshell and you’re ready to go!
Getting Set Up
1. Place the turntable on a sturdy, flat surface
 Before you buy your turntable, make sure you have the right surface for it to sit on. It’s a sensitive piece of equipment, so it needs to be level and wobble-free. If you have transformers close by, the ultra-sensitive stylus could pick up the electrical noise and create a hum while playing, so move these to a safe distance.
2. Check everything is clean
Making sure you connect the earth to the amplifier is only half the job. Keeping your records and turntable in tip-top shape is key. If your turntable has a dust cover, use it when you’re not playing records. And storage of your records is just as important. Make sure to store them vertically as this reduces warping.
You should also regularly replace the stylus cover and carefully clean your turntable to ensure it lasts as long as possible.
3. Inspect the tonearm
If your tonearm isn’t correctly set up, you might find it sounds horrible or bounces across the record like a jack-in-a-box. Pay close attention to a new setup, making a note of the weight and anti-skating. These can easily move, ruining your stylus.
For the best setup, consult the turntable’s recommended weight and set it accurately with products like the Pro-Ject Measure It E tool. Then check the anti-skating is set similarly.
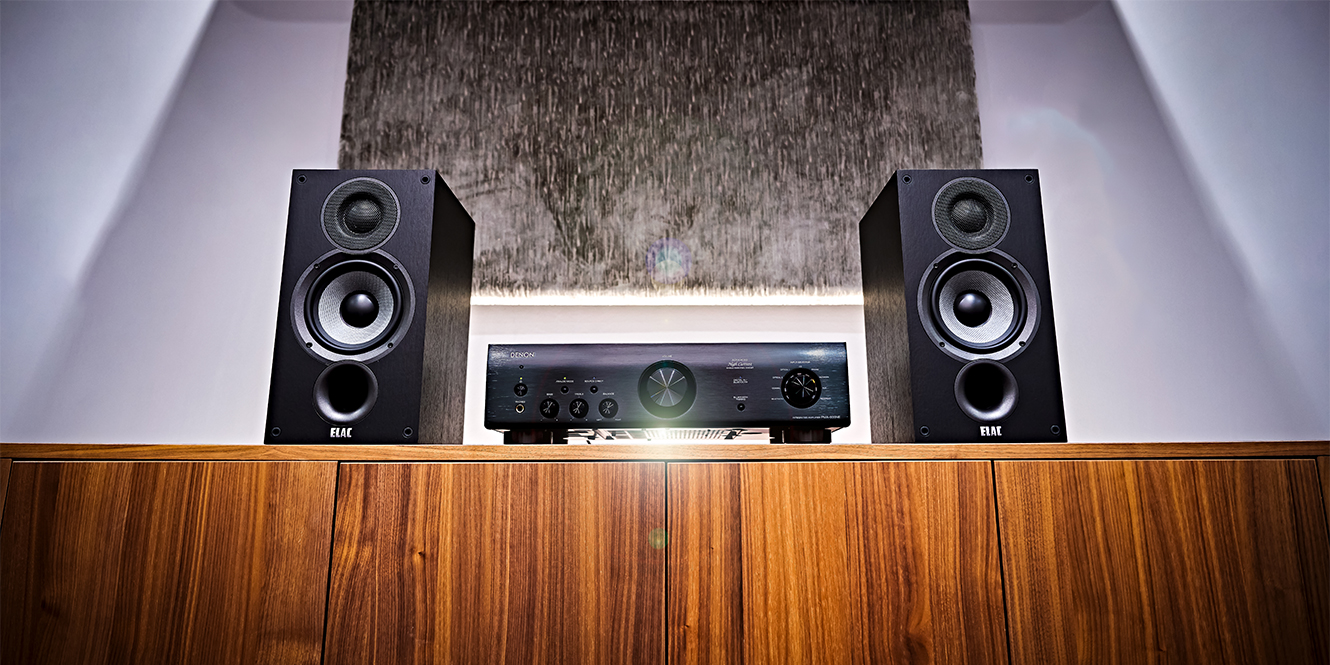
4. Position your speakers correctly
The positioning of your hi-fi system is crucial when it comes to sound quality. If the system is tucked away in a corner of the room and you’re anticipating a revelation of stereo sound from your turntable – a level of imaging that no CD or streaming service can replicate – you may be disappointed.
The placement of stereo speakers is also important. If the speakers are within two meters of each other and you’re in a separate corner, the essence of sound imaging may be lost.
Imagine a triangle, with you in one corner and each speaker in the other two corners. For optimal sound imaging, the front of the speakers should form a right angle to each other and face towards your position. This will vastly improve the stereo imaging, enabling your hi-fi system to create an auditory masterpiece across the room.
5. Check the record isn’t damaged
If you find that your record is warped or has deep scratches, it is sadly unrecoverable. I recommend not playing the record as it could damage your stylus.
However, you can stop the rot! Prevention is key, so as well as following step 3, make sure to store and clean your vinyl well.
We mentioned storing your LPs vertically – and this is really important, if you have a cabinet to keep them in, that’s even better.
Cleaning them periodically is also great practice and something like Spin Clean makes the job a doddle.
Using a cartridge and record cleaning brush will also keep your records in perfect condition.
Top tip: When using the record cleaning brush, place the record onto the platter and, whilst the turntable is running, sweep from the outer edge of the record to the central spindle. Gently touch the metal body of the brush with the spindle. This will discharge any static build-up, stopping the dust from clinging to your record.
How To Play Vinyl Records
1. Pull the record from its sleeve and place it on the turntable
 If you’re like me, you’ve usually got some nibbles around when listening to music, and this can wreak havoc for your vinyl. Grease from your fingertips creates unwanted grime, so take care when removing your records from their protective sleeve and make sure to hold the outer edge of the record.
Be careful when placing the record onto the platter as you won’t be able to see the spindle. So, be gentle while trying to locate it until you marry the two together.
2. Set the speed
You’ll have seen that some records have 33 1/3 RPM while others have 45 RPM, but did you know that 78 RPM and 16 RPM used to also be commonplace? Both 16 RPM and 78 RPM vanished in the late 1950s, leaving us with the standard model we use today.
12” albums (not to be confused with 12” LPs) are also known as “records”. They’re spun at 33 RPM, while 7” runs at 45 RPM (hence their nickname 45s). These both have a thinner groove compared to 12” singles.
The 12” single, known as the LP, has a wider groove, giving it longevity. This makes it ideal for DJs. Unlike an album, it will only have a couple of songs on either side. Speed-wise, you’ll need to check the LP as they can be 33rpm or 45rpm.
3. Cueing up
No, we’re not on about snooker. The cueing world of vinyl is all about where you start the record. If you’ve ever looked closely at one, you’ll see a slightly wider groove at the outer edge of the record. Between the tracks, there is thinner cueing. Close to the label, you’ll see a continuous line where the record finishes. These are cueing points.
If your cue lever/lift arm is on the tonearm itself, take care cueing up until you get used to the action. If it’s on the turntable itself, its dampening action plus a fixed height means you can swing the tonearm to the central spindle and back to its rest point without fear of causing damage to the record.
How to Skip Tracks
 Unlike simply pressing a button on your CD player or smartphone app, turntables require a little more physical interaction when it comes to skipping tracks. You either need to operate mechanical parts or manually move the tonearm.
But first, you need to consider if it’s necessary. Your stylus and record have a finite lifespan, so you don’t want to mess around with too much. Stopping and starting a song midway through, for example, can create some popping and crackling in your electronics and speakers.
Plus, your stylus will use some type of diamond tip – either bonded or mounted directly to the cartridge’s suspension system. It’s easy to damage your stylus tip and even easier to ruin a record if you get the cueing action wrong.
So, how do you skip a song safely?
To start with, you need to identify the tracks. Each of those thick, dark lines between the compact ones indicates a track’s start or finish point. You’ll also notice that every record has either an A or B side. Track titles are usually found on the centre label or cover case.
Skipping mid-track is bad practice; using the cueing points of the record is a safer option.
Using the cue lever
- Whilst the song is approaching the end of the track, prepare to lift the cue lever in a smooth but quick action
- In its uppermost position, it will have detached the stylus from the record
- Slowly move the tonearm towards the new cueing point
- Pay close attention to ensure the point of the diamond stylus is positioned centrally above the cueing point
- Slowly lower the cue level where it will drop into the groove
Using the lift-arm
- Without a cue lever, skipping tracks is even more of a manual process and requires a steady hand
- When the song is finishing, ready your hand near the lift-arm
- When the track is finished, slowly lift the lift arm, this will also lift the tonearm and the stylus off the record
- Whilst keeping the lift arm at a safe height, position the tonearm to the next cueing point
- Smoothly lower the lift arm into the groove, trying not to move the tonearm
- Once contact has been made, let go and carefully remove your hand
Good to know: Everyone struggles to get this right on occasion!
What About Other Electronics and Speakers?
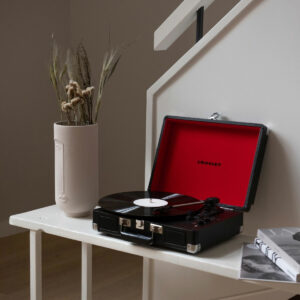
For those who want to plug in and play, the simplest option is a turntable with a built-in phono equaliser, like the Denon DP-400, or a stand-alone, all-in-one turntable such as a Crosley or Lenco.
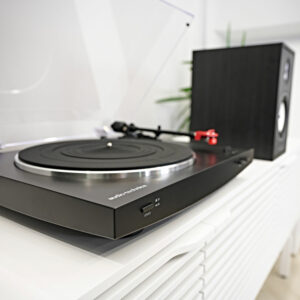
If you want a better quality of sound, it’s best to opt for a turntable that doesn’t have speakers built in – or HiFi separates – such as an Audio Technica. You’ll, therefore, need to purchase them separately, as well as an amplifier and cables. This is where you can really change how you experience vinyl, and it’s the best option for those looking to upgrade in the future.
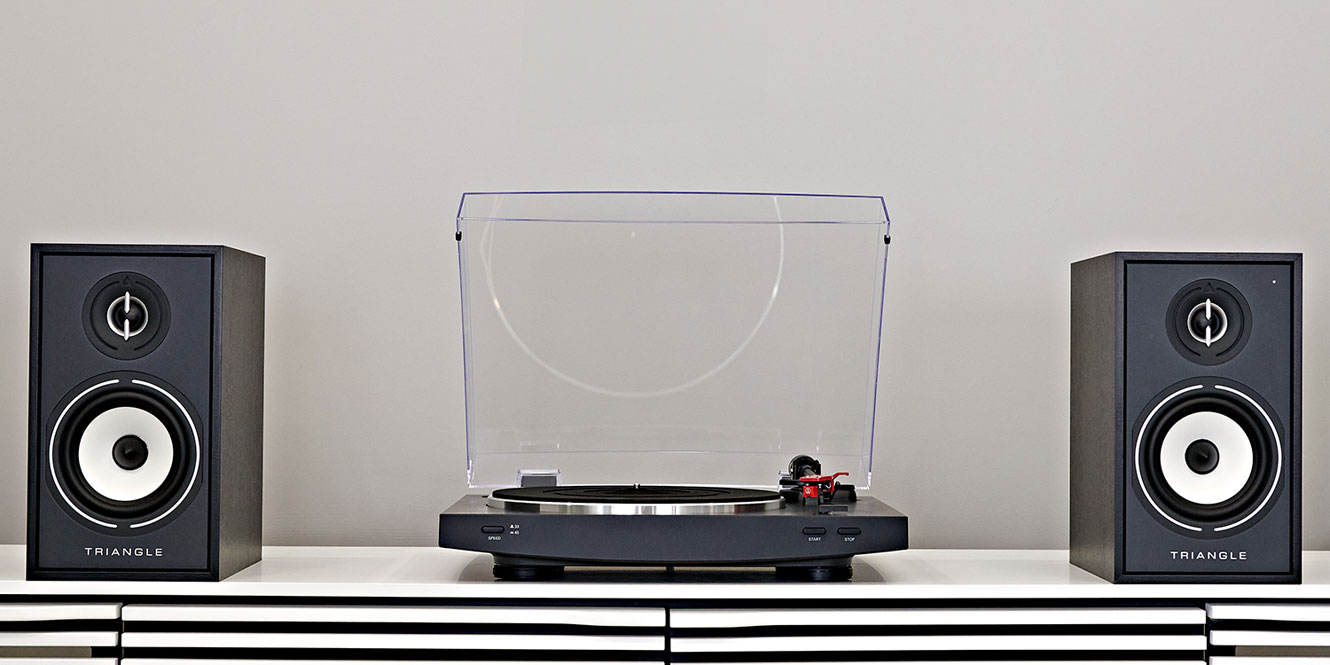
The Triangle AIO Twin Active Speakers are a great option for a turntable setup. They have a Phono preamplifier MM input for connecting to your turntable as well as Bluetooth 5.0 aptX and an optical/SPDIF input for linking up to smart devices and your TV.
The simplest upgrades are the cartridge and phono stage, while more technical upgrades include the platter and tonearm.
Maintenance Tips
We’ve mentioned it a number of times, but it’s true that cleaning your records is extremely important. Use a record brush to remove dust particle build-up whilst occasionally washing your records to remove other deep-routed dirt.
Storing your records correctly is also crucial. If you stack your records on top of each other, they will warp over time. This is down to the extra thickness of the labels and the weight of the records stacked on top of each other. So, it’s best to store your records vertically in a cabinet.
Keeping the stylus clean is the holy grail to maximising your enjoyment when listening to your records. If you look after it, it should last over 1000 hours. So, replacing the stylus cover after use is a must. You should also use a cartridge brush to remove dust particles from the needle which collects.
Does Vinyl Sound Better?
To my ears, pound for pound, yes, vinyl does sound better than anything else! The imaging from vinyl is unrivalled when produced right. There is also nothing like the interaction with the turntable and becoming part of the process. Yes, you might hear the occasional snap, crackle, and pop, but you’ll also hear a warm sound signature which is missing from digital formats.
FAQs
What do I need for a turntable setup?
If you’re starting from scratch, you’ll need speakers, an amplifier, the turntable itself, and some cables for a turntable setup. You may also find that you need something called a phono stage. This increases the audible level from the turntable to match the level required by your speakers.
How much should I spend on a turntable?
If you already own a hi-fi system, a basic turntable will cost you around £150 – £200, whereas a good all-in-one system will cost you upwards of £100. Before you purchase your turntable, check if it has a built-in phono stage or see if your hi-fi system already has one. This will steer you in the right direction.
I want to buy a USB turntable; will I need a phono stage?
If you’re buying a USB turntable and will use the USB output to your computer, you won’t need a phono stage. As for connecting the turntable to your hi-fi afterwards, you’ll have to check the manual to see if you have a phono stage built in. If you’re unsure, connect the turntable to your hi-fi system – if you cannot hear anything at the normal volume levels of your hi-fi, you require a phone stage.
Final Thoughts
If this is your first venture into the turntable world, you’re in for a treat. Whether you buy an all-in-one or manual turntable is entirely up to you, but once you’ve experienced the magic of vinyl, you’ll understand why it’s one of the most popular musical formats. I hope this step-by-step guide has made setting up your turntable seem less daunting, and that you now know how to play vinyl records! You’ll never look back!


0 Comments